
7 Tips for Buying a CUAV V5+ Flight Controller
Choosing a Cuav V5+ Flight Controller is not simply a matter of comparing prices. The better decision begins with your aircraft’s real demands, including frame size, motor output, sensors, ports, and mission type.
Andrew Tridgell, an ArduPilot co-founder, offers a practical principle: “Read the documentation, test carefully, and never assume.” This idea fits the V5+ well. A controller may look powerful on a workbench, yet behave differently inside a vibrating carbon frame. That gap matters.
This guide introduces seven useful checks before buying. Confirm firmware support and connector compatibility. Inspect the power module requirements carefully. The wrong voltage range can damage expensive hardware. Check whether the available UART, CAN, I2C, and PWM ports match your planned accessories. Count them physically, not from memory.
Cooling also deserves attention. A tightly sealed enclosure can trap heat during long flights. Mounting quality matters too. Soft vibration isolation may help, but excessive movement can create new sensor errors. I have seen neat installations fail because one cable pulled against the GPS socket.
Review the seller’s documentation and after-sales support. Clear wiring diagrams are valuable during a late-night repair. Spare cables and replacement parts can save an entire weekend.
The V5+ is not automatically the best choice for every aircraft. That is worth admitting. Your software stack, pilot experience, and testing discipline may matter more than its specification sheet. A careful buyer checks the complete system, then leaves room for doubt. That habit protects both the aircraft and the investment.
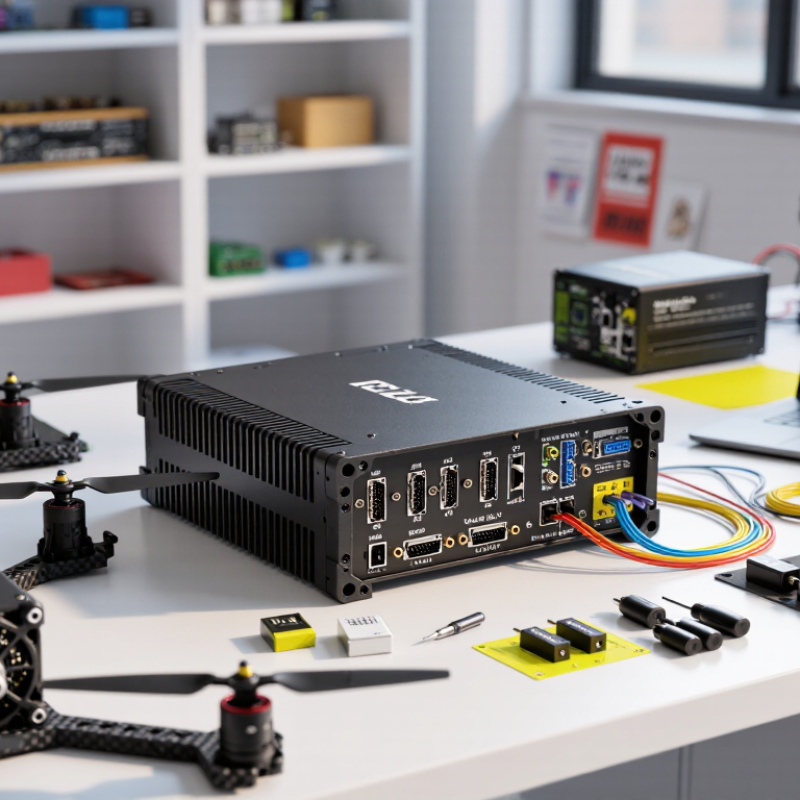
Define Your Vehicle’s Flight-Control Requirements
Define your vehicle’s flight-control requirements before comparing any controller. Start with the aircraft’s mass, frame geometry, motor count, payload, and expected flight time. A compact quadcopter needs different control margins than a heavy mapping platform. The FAA’s 2024 Aerospace Forecast projects continued growth in commercial small unmanned aircraft operations, increasing the need for reliable, task-specific configuration rather than generic hardware choices.
Write down every connected device. Include motors, electronic speed controllers, positioning sensors, telemetry radios, cameras, and payload actuators. Check voltage ranges, connector types, communication protocols, and available output channels.
A controller may support enough channels on paper, yet wiring space can become the practical limitation. Small detail, big consequence. The PX4 Flight Report and open-source autopilot documentation emphasize vibration control, sensor calibration, and flight-log review as essential reliability practices. These steps often reveal problems that specifications hide.
Your mission profile should define the safety functions. Consider indoor navigation, poor satellite reception, wind exposure, emergency landing behavior, and maximum takeoff weight. EASA’s Annual Safety Review highlights the importance of operational risk management and dependable system behavior in unmanned aviation.
Do not assume every advertised failsafe suits your aircraft. Test each response under controlled conditions, then inspect the logs afterward.
I would also leave extra power and processing capacity. That choice costs more, but my earlier builds taught me that “just enough” becomes a weakness after one added sensor. Test assumptions, not only components.
Verify Hardware Compatibility and Required Accessories
Tip 1: Verify the hardware before buying. Check the controller’s input voltage range, mounting-hole pattern, and connector layout. A frame may have suitable holes but insufficient clearance for cables. Measure the available space with a ruler. Leave room for ventilation and service access.
Tip 2: Confirm accessory compatibility. The flight controller may require a suitable power module, GPS unit, telemetry radio, safety switch, and vibration-resistant mounting hardware. Check connector types and pin assignments carefully. Do not assume similar plugs share the same wiring. A cable can fit and still damage the board. Review the official technical documentation and compare every specification with your aircraft.
Tip 3: Match the controller with your intended aircraft. Confirm the number of motor outputs, serial ports, CAN interfaces, and sensor requirements. A larger aircraft may need reliable power monitoring and additional communication ports. Small builds often need fewer accessories, but space becomes the real problem. I once underestimated cable length and created sharp bends near the connectors. That mistake was avoidable.
Keep a written checklist. Include battery voltage, current capacity, connector orientation, mounting dimensions, and spare cables. Test the power system without propellers installed. Measure voltage at the controller terminals, not only at the battery. If one requirement remains unclear, pause the purchase. Guessing is cheaper before delivery.
7 Tips for Buying a CUAV V5+ Flight Controller - Verify Hardware Compatibility and Required Accessories
| Tip | Purchase Area | What to Verify | Relevant Technical Requirement | Buying Priority |
|---|---|---|---|---|
| 1 | Firmware and Hardware Support | Confirm that the exact board revision is supported by the intended autopilot firmware and that the required airframe type is available. | Firmware compatibility must match the controller target, processor architecture, sensor set, and vehicle configuration. | Essential |
| 2 | Power Module Compatibility | Check the power module connector, regulated output voltage, current-measurement range, and cable pinout before connecting the controller. | The flight controller requires a clean regulated supply; voltage and pin orientation must match the board input. | Essential |
| 3 | Mounting and Vibration Control | Measure the frame mounting pattern and reserve space for connectors, cable bends, and vibration-isolation hardware. | A common Pixhawk-style mounting pattern uses 30.5 mm hole spacing; verify the exact board drawing before drilling. | Essential |
| 4 | Navigation Sensors | Determine whether the build needs an external GNSS receiver, compass, airspeed sensor, or rangefinder, and confirm the available interfaces. | External navigation sensors commonly use serial, I2C, CAN, or dedicated GNSS connections, depending on the device. | Recommended |
| 5 | Telemetry and Communication Ports | Count the required telemetry, receiver, companion-computer, and peripheral connections. Check connector type, voltage level, and signal direction. | UART ports are commonly used for telemetry and receivers; CAN ports are suitable for compatible distributed peripherals. | Essential |
| 6 | Output Capacity and Servo Power | Count motor, actuator, and auxiliary outputs, then verify whether servos require a separate regulated supply or battery eliminator circuit. | Servo current should not be drawn from an unsuitable logic rail; the external supply must meet the total peak load. | Essential |
| 7 | Required Accessories and Spares | Confirm whether the package includes the power module, GNSS unit, telemetry device, safety switch, buzzer, cables, mounting hardware, and storage card. | A microSD card is useful for onboard logs; spare cables and a compatible safety switch reduce installation delays. | Verify Before Checkout |
Evaluate Firmware, Sensors, and Expansion Options
Buying a professional flight controller requires more than checking processor speed. Firmware determines failsafe behavior, logging quality, update support, and compatibility with ground-control software. The 2024 Drone Industry Insights report estimates the global commercial drone market will exceed 50 billion dollars by 2030. That growth increases pressure for dependable, maintainable systems. I would inspect release notes, issue histories, and documented recovery procedures before purchase. Marketing pages are not enough.
Tip 1: Test firmware before installation. Confirm sensor calibration, geofencing options, battery warnings, and emergency actions. Export a flight log after a bench test. A missing log can hide vibration problems. The European Union Aviation Safety Agency stresses documented risk management for higher-risk drone operations, which makes traceable configuration valuable.
Tip 2: Examine the sensors closely. Look for dual inertial measurement units, a stable barometer, temperature data, and reliable external compass support. Check mounting space and cable routing around the frame. Tip 3: Count expansion ports, not promises. Verify available serial, CAN, PWM, and I2C connections, then calculate power demand with every planned accessory. Industry testing often exposes weaknesses only after payloads, radios, and navigation modules operate together. I learned this the hard way. A technically capable controller may still disappoint when connectors are scarce, firmware support is uncertain, or documentation leaves important assumptions unstated.
7 Tips for Buying a CUAV V5+ Flight Controller: Evaluate Firmware, Sensors, and Expansion Options
Use these representative update-rate benchmarks when evaluating an autopilot. Confirm the actual sensor rates, firmware support, calibration process, logging features, and available UART, CAN, I2C, SPI, and PWM expansion interfaces in the product datasheet.
Higher update rates are generally useful for fast control loops, while reliable firmware integration, sensor redundancy, vibration isolation, and sufficient expansion ports are equally important for safe and flexible flight-controller installations.
Compare Seller Reliability, Warranty, and Technical Support
Buying a flight controller involves more than comparing prices. A reliable seller should provide clear photographs, accurate specifications, and a traceable sales record. Ask whether the unit is new, tested, or refurbished. Request its manufacturing date and included accessories. I prefer sellers who answer technical questions directly. Vague replies create costly uncertainty. Before ordering, check independent reviews from pilots and repair technicians. Look for repeated comments about packaging, delivery accuracy, and after-sales communication. One review proves little. Patterns matter.
Warranty terms deserve careful reading. Confirm the coverage period, excluded damage, and return procedure in writing. Ask who pays shipping when a verified hardware fault appears. A short warranty is not automatically poor, but unexplained exclusions are concerning. The seller should explain inspection steps without blaming every failure on installation. Keep invoices, photographs, and test logs. These records can support a legitimate claim. I once ignored an unclear connector policy and regretted it. The board worked, but resolving the missing cable took weeks. That mistake changed my buying checklist.
Technical support should match the controller’s complexity. Test the support channel before payment with a practical question about firmware compatibility or power wiring. Judge the response for accuracy, not speed alone. Good support requests flight logs, wiring photos, and firmware details before suggesting repairs. It should also point to reliable documentation instead of guessing. Ask whether replacement parts remain available. A fast answer can still be wrong. That is easy to miss. Compare technical knowledge, warranty fairness, and communication history together. The cheapest listing may become expensive when diagnosis stalls and downtime grows.
Confirm Pricing, Authenticity, and Delivery Details
Before ordering, record current prices from several established sellers. Compare board-only prices with bundles containing GPS units, cables, or power modules. A low price is not always a bargain. Check tax, shipping, and possible customs charges before deciding. Ask for a dated quotation and keep it in writing. Confirm the currency and payment terms. I once ignored accessory differences and misjudged a deal.
For authenticity, request clear photos of box labels, serial numbers, connectors, and included accessories. Match those details against published technical documentation. Ask whether the controller is new, refurbished, or previously configured. Confirm firmware compatibility and calibration status. Genuine hardware should arrive sealed, clean, and free from bent pins. Still, packaging alone proves little. Verify serial information through seller support when possible. Keep the invoice and message history.
Before payment, confirm the dispatch location, handling time, carrier, tracking method, and replacement policy. Request an estimated arrival window, not simply “fast shipping.” Check whether the controller will be protected in a rigid box and anti-static bag. On arrival, photograph the unopened parcel. Inspect ports, solder joints, and accessories before powering it. Test carefully. Delays happen. My delivery estimate was too optimistic once, so I now allow extra days for project planning. If details remain vague, pause the purchase and request clearer terms.


